
Who can resist the comforting aroma of a freshly baked apple pie? With its golden crust, bubbling filling, and hint of cinnamon, it’s a quintessential dessert that never fails to delight.
But did you know that making your own apple pie from scratch is easier than you might think? In this guide, we’ll take you through the journey from orchard to oven in just 10 simple steps.
So roll up your sleeves, dust off your apron, and get ready to impress your friends and family with your homemade apple pie prowess!

Gather Your Ingredients
Before you embark on your apple pie adventure, make sure you have all the necessary ingredients on hand.
You’ll need:
6-8 medium-sized apples (choose a mix of sweet and tart varieties for the best flavor)
1 cup of granulated sugar
2 tablespoons of all-purpose flour
1 teaspoon of ground cinnamon
A pinch of salt
1 tablespoon of lemon juice
2 tablespoons of butter
1 package of store-bought or homemade pie crust (or make your own if you’re feeling ambitious!)
Preheat Your Oven
Preheat your oven to 375°F (190°C) to ensure it’s nice and toasty when it’s time to bake your pie.
Prepare Your Apples
Peel, core, and thinly slice your apples. If you have an apple corer, this step will be a breeze.
Toss the sliced apples with lemon juice to prevent them from browning.
Mix Your Filling
In a large mixing bowl, combine the sliced apples, sugar, flour, cinnamon, and salt.
Mix until the apples are evenly coated and the sugar has dissolved.
Roll Out Your Pie Crust
If you’re using store-bought pie crust, roll it out on a lightly floured surface to fit your pie dish.
If you’re making your own crust, now’s the time to roll it out and transfer it to your pie dish.
Fill Your Pie Crust
Transfer the apple filling to the prepared pie crust, mounding it slightly in the center.
Dot the top of the filling with small pieces of butter to help create a rich, flavorful filling.
Add the Top Crust (Optional)
If you’re making a traditional double-crust pie, carefully place the second pie crust on top of the filling.
Trim any excess crust from the edges, then crimp the edges to seal the pie.
Ventilate Your Pie
Using a sharp knife, make several small slits in the top crust to allow steam to escape during baking.
This will help prevent your pie from becoming soggy.
Bake Your Pie
Place your pie on a baking sheet (to catch any drips) and transfer it to the preheated oven.
Bake for 45-50 minutes, or until the crust is golden brown and the filling is bubbling.
Cool and Serve
Allow your apple pie to cool for at least 30 minutes before slicing and serving.
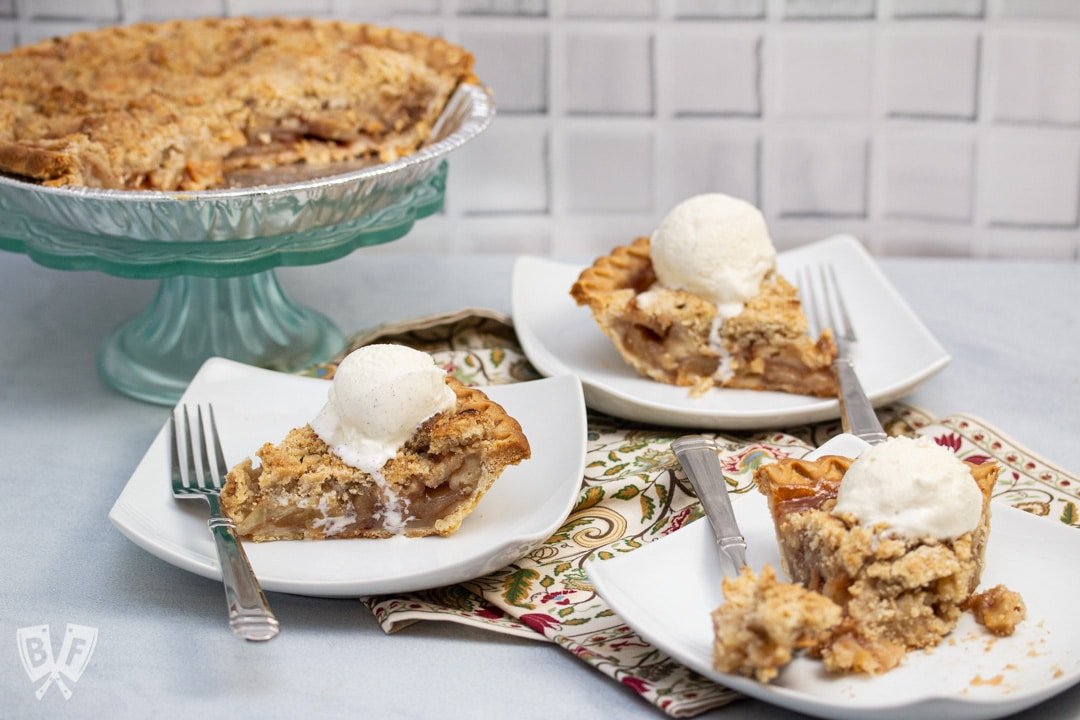
Serve it warm with a scoop of vanilla ice cream for the ultimate indulgence.
Conclusion
Congratulations! You’ve successfully transformed fresh apples into a delicious homemade apple pie.
With just a few simple steps, you can enjoy the sweet taste of fall all year round.
So go ahead, slice yourself a piece, and savor the fruits of your labor.

FAQs
Can I use pre-made pie crust for this recipe?
Yes, absolutely! Pre-made pie crust is a convenient option if you’re short on time or prefer not to make your own from scratch.
Can I use a mix of different apple varieties?
Yes, using a mix of sweet and tart apple varieties will give your pie a more complex flavor profile.
Experiment with different combinations to find your favorite!
How do I prevent my pie crust from getting soggy?
To prevent your pie crust from getting soggy, make sure to ventilate it properly by making small slits in the top crust.
You can also try brushing the bottom crust with beaten egg white before adding the filling, which creates a barrier between the crust and the filling.
Can I make this pie ahead of time?
Yes, you can make the pie ahead of time and store it in the refrigerator for up to 24 hours before baking.
Simply cover it tightly with plastic wrap or aluminum foil to prevent it from drying out.
How should I store leftovers?
If you have any leftovers (which is unlikely!), you can store them in an airtight container at room temperature for up to 2 days.
Alternatively, you can store them in the refrigerator for up to 5 days and reheat individual slices in the microwave or oven before serving.