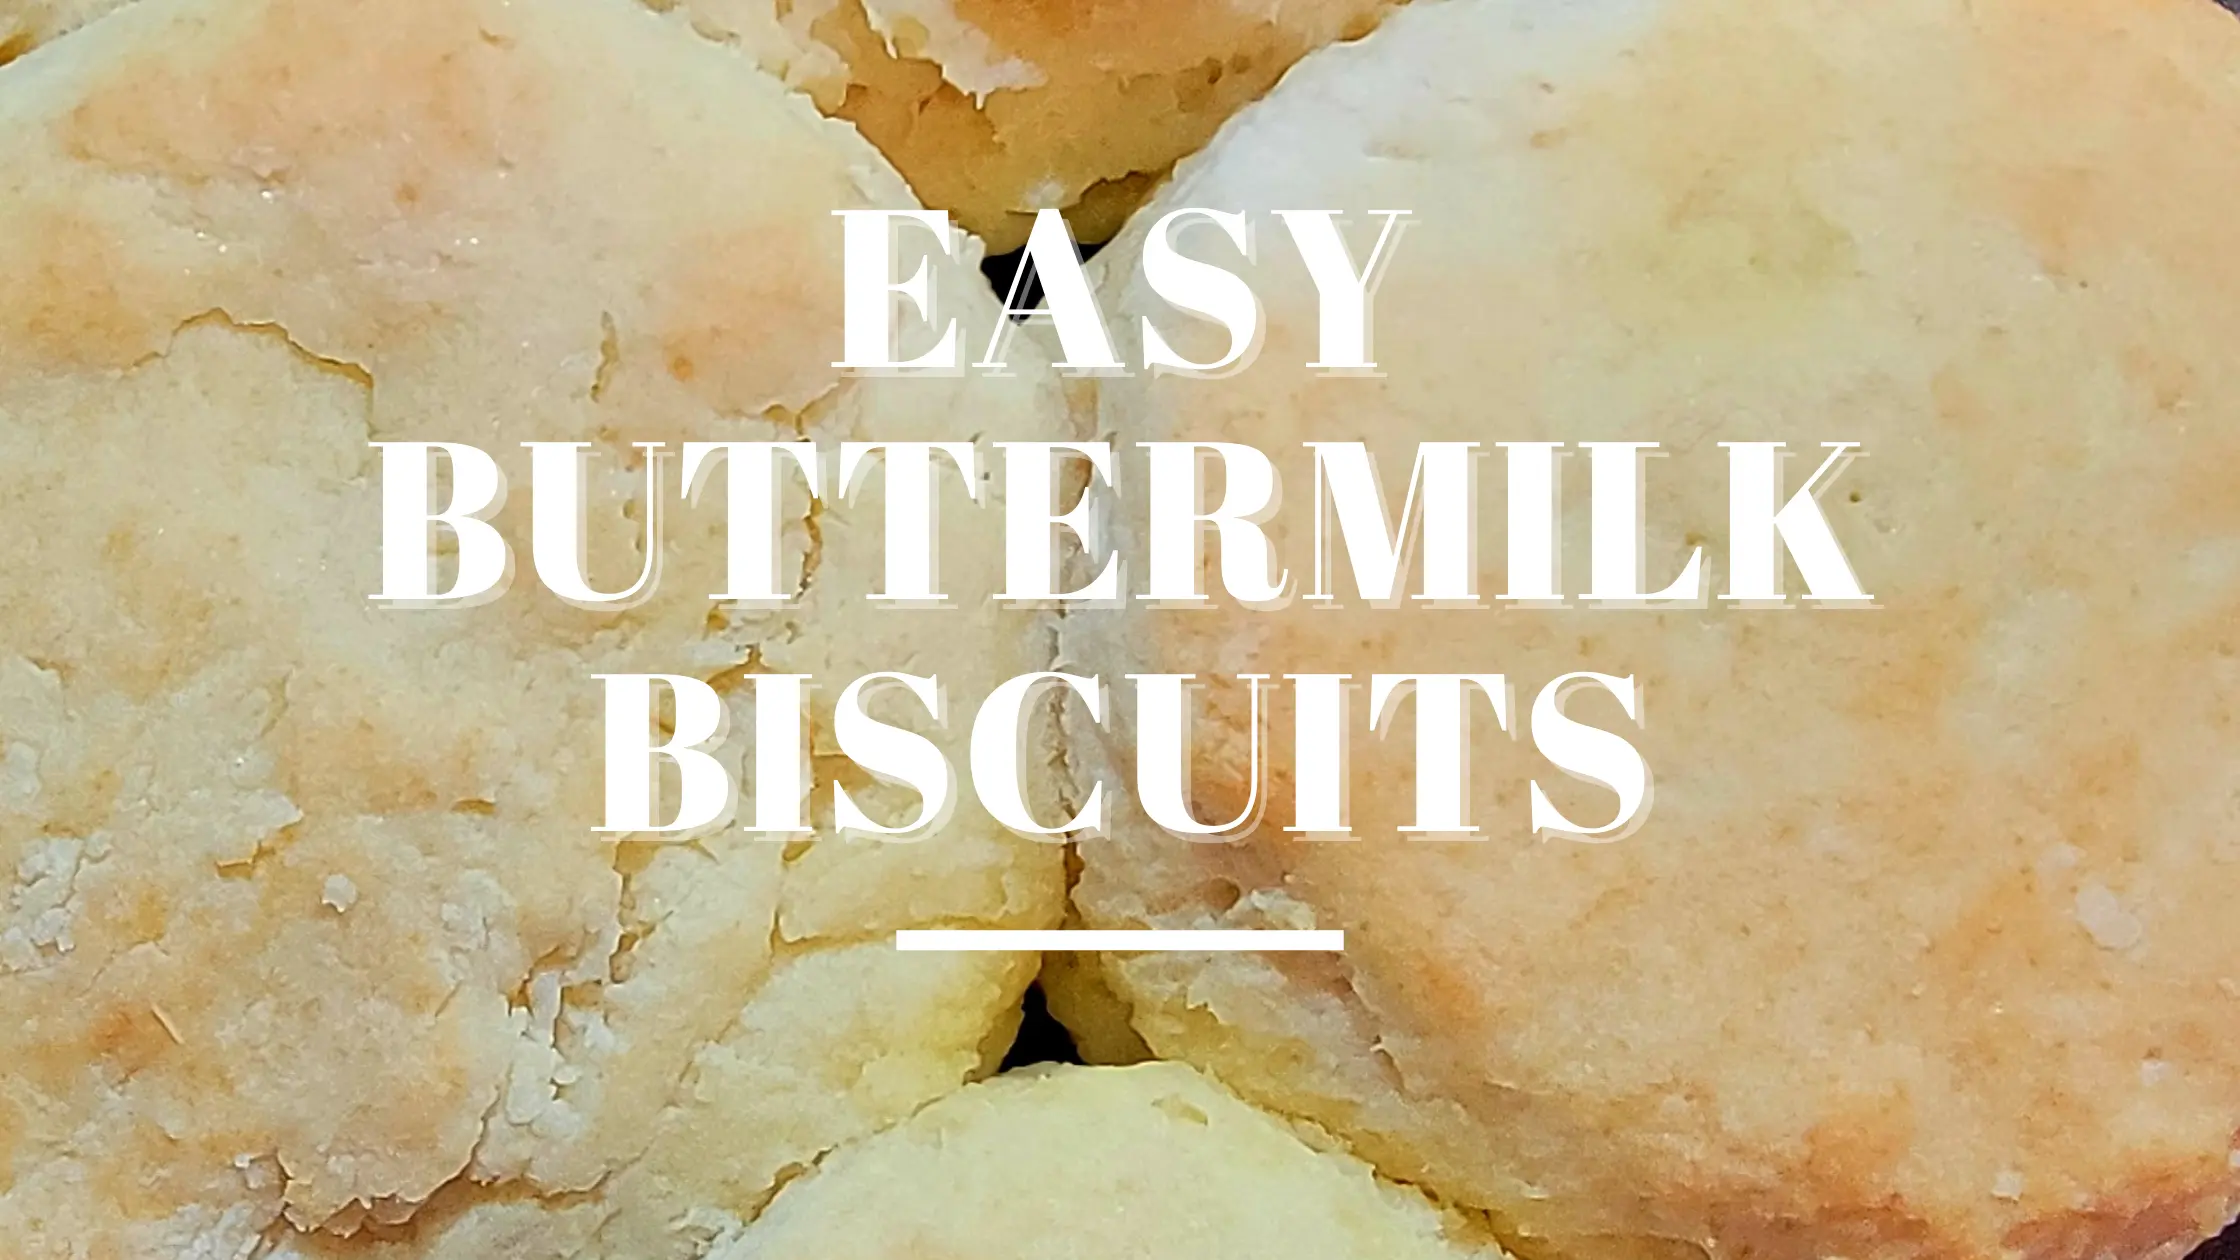
Who doesn’t love the comforting aroma of freshly baked biscuits? Whether you’re a seasoned baker or a novice in the kitchen, mastering the art of buttermilk biscuits is a delightful endeavor.
In this article, we’ll walk through a simple yet scrumptious buttermilk biscuit recipe that will have your taste buds dancing with joy. Get ready to impress your family and friends with these fluffy, homemade delights!

Ingredients:
Before we dive into the baking process, let’s gather our ingredients. You’ll need:
- 2 cups of all-purpose flour
- 1 tablespoon of baking powder
- 1/2 teaspoon of baking soda
- 1 teaspoon of salt
- 6 tablespoons of cold unsalted butter, cubed
- 3/4 cup of cold buttermilk
Step 1: Preheat Your Oven
Preheat your oven to 450°F (230°C) and line a baking sheet with parchment paper. This ensures that your biscuits bake evenly without sticking to the pan.
Step 2: Mix Dry Ingredients
In a large mixing bowl, whisk together the all-purpose flour, baking powder, baking soda, and salt. Make sure all the ingredients are well combined.
Step 3: Incorporate Butter
Add the cold cubed butter to the dry ingredients. Using a pastry cutter or your fingers, work the butter into the flour mixture until it resembles coarse crumbs. This step is crucial for achieving that flaky texture in your biscuits.
Step 4: Add Buttermilk
Pour the cold buttermilk into the flour mixture. Using a spatula or wooden spoon, gently stir until the dough comes together.
Be careful not to overmix, as this can result in tough biscuits.
Step 5: Roll and Cut
Transfer the dough onto a lightly floured surface. With a rolling pin, roll out the dough to about 1/2 inch thickness.
Using a biscuit cutter or a glass, cut out rounds of dough and place them on the prepared baking sheet.

Step 6: Bake
Place the baking sheet in the preheated oven and bake the biscuits for 10-12 minutes, or until they are golden brown on top.
Keep an eye on them to prevent overbaking.
Step 7: Serve and Enjoy
Once the biscuits are done baking, remove them from the oven and let them cool for a few minutes.
Serve them warm with butter, jam, honey, or your favorite toppings. Get ready to indulge in buttery goodness!
Conclusion:
In conclusion, mastering the art of buttermilk biscuits is not as daunting as it may seem.
With a simple recipe and a few key ingredients, you can whip up fluffy, homemade biscuits that will rival those from any bakery.
So why wait? Head to the kitchen and start baking up a batch of these irresistible treats today!

FAQs:
Q1: Can I use salted butter instead of unsalted butter?
A1: While you can use salted butter, it’s best to stick to unsalted butter to control the saltiness of the biscuits.
Q2: Can I substitute buttermilk with regular milk?
A2: Buttermilk adds a unique tanginess and tenderness to the biscuits. However, you can make a buttermilk substitute by adding 1 tablespoon of vinegar or lemon juice to 1 cup of milk and letting it sit for 5 minutes before using.
Q3: How do I store leftover biscuits?
A3: Allow the biscuits to cool completely, then store them in an airtight container at room temperature for up to 2 days. You can also freeze the biscuits for longer storage.
Q4: Can I add cheese or herbs to the biscuit dough?
A4: Absolutely! Feel free to customize your biscuits by adding shredded cheese, chopped herbs, or even cooked bacon bits to the dough before baking.
Q5: Can I make the biscuit dough ahead of time?
A5: Yes, you can prepare the biscuit dough ahead of time and refrigerate it for up to 24 hours. Just make sure to wrap it tightly in plastic wrap to prevent it from drying out. When ready to bake, proceed with rolling and cutting the dough as usual.
